Biking Basics: Helmets, Signals, and Routes
Biking Basics: Helmets, Signals, and Routes

Ready to hit the road on two wheels? Whether you're a cycling newbie or getting back in the saddle after a break, mastering the basics of bike safety is your ticket to countless adventures. Think of these fundamentals as your cycling superpowers, they'll keep you safe, confident, and ready for anything the road throws your way.
Biking isn't just about pedaling fast and having fun (though that's definitely part of it!). It's about becoming a smart, responsible rider who knows how to protect themselves and communicate with everyone else sharing the road. Let's dive into the three essential skills every cyclist needs: choosing and wearing the right helmet, mastering hand signals, and planning safe routes.
Your Brain's Best Friend: All About Helmets
Your helmet is literally a lifesaver, it's the most important piece of safety gear you'll ever wear while cycling. But not all helmets are created equal, and wearing one incorrectly is almost as risky as not wearing one at all.
Finding the Right Helmet
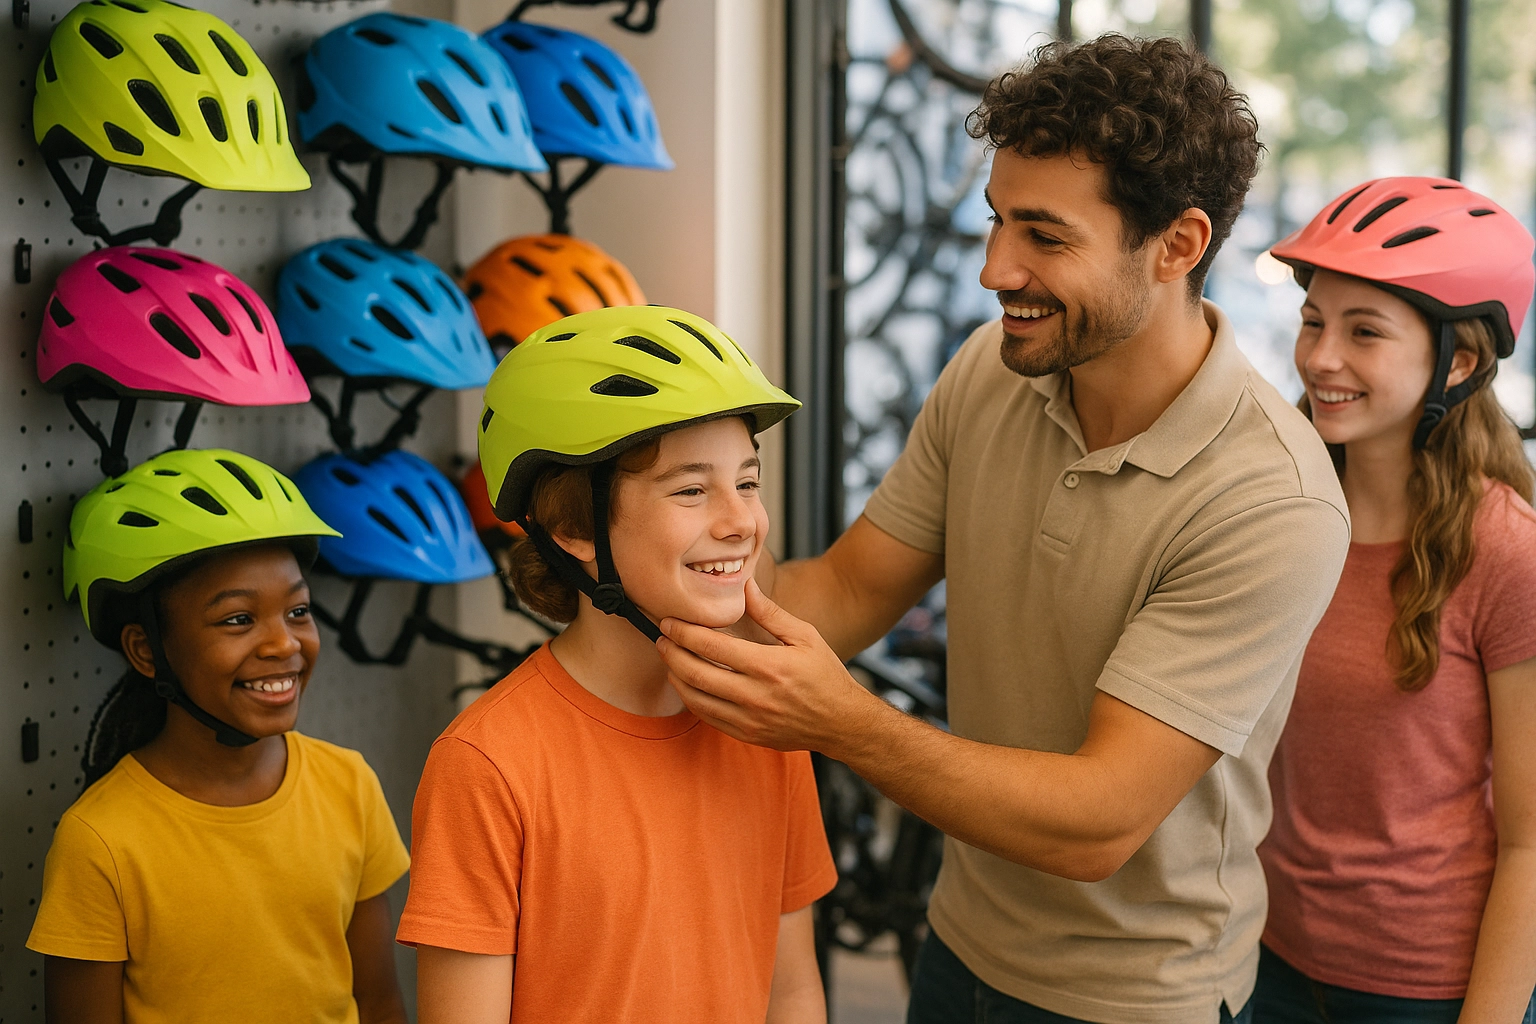
When shopping for a helmet, look for one that meets either US DOT standards or the Consumer Product Safety Commission (CPSC) requirements. These aren't just fancy labels, they mean your helmet has been rigorously tested to actually protect your head during an impact. Every approved helmet comes with detailed fitting instructions that show you exactly how to wear it properly, complete with helpful pictures.
A good helmet should sit level on your head, covering your forehead without blocking your vision. You should be able to see at least 105 degrees to each side, that's wider than your normal field of vision, which is crucial for spotting cars, pedestrians, and other cyclists around you.
The Perfect Fit
Here's a simple test: when you put your helmet on and shake your head, it should move with your head, not slide around independently. The chin strap should be snug but comfortable, you should be able to fit one finger between the strap and your chin. If your helmet rocks back and forth or side to side, it's too loose and won't protect you properly in an accident.
Helmet Care and When to Replace
Your helmet might look tough, but it's designed to absorb impact by essentially breaking in a controlled way. Never clean your helmet with harsh chemicals like bleach or ammonia, these can weaken the materials in ways you can't see. If your helmet takes any significant impact, even if it looks fine, it may have internal damage and should be replaced immediately.
Speaking the Language of the Road: Hand Signals
Imagine if car drivers couldn't use their turn signals, chaos, right? As a cyclist, your hands are your turn signals, brake lights, and communication system all rolled into one. Learning proper hand signals isn't just good etiquette; it's essential for staying safe and helping traffic flow smoothly around you.
The Big Three Signals
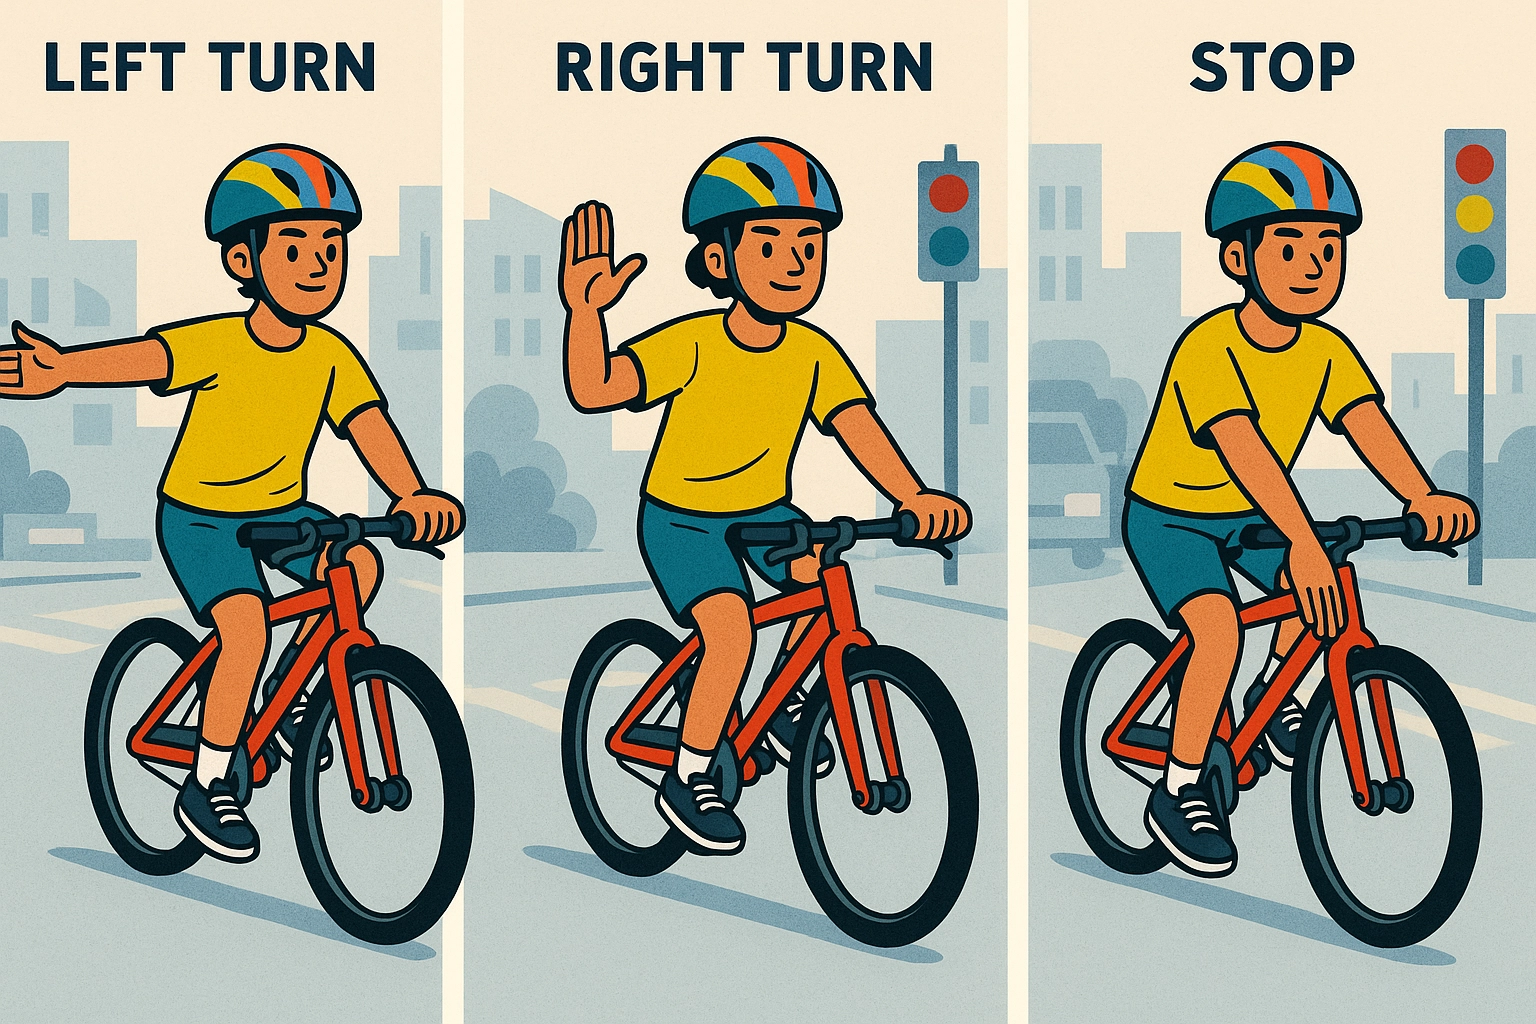
Left Turn: Extend your left arm straight out to the side. Simple and clear, everyone knows what this means.
Right Turn: You have two options here. The traditional method is to extend your left arm out and bend it upward at the elbow, creating an "L" shape. The newer, increasingly popular method is to simply extend your right arm straight out to the right.
Stopping or Slowing Down: Extend your left arm out and angle it downward at about a 45-degree angle. This lets everyone behind you know you're about to brake.
When and How to Signal
Start signaling well before you need to turn or stop, at least 100 feet in busy areas, or about 4-5 seconds before your intended action. This gives drivers and other cyclists time to see your signal and react appropriately.
Hold your signal steady and clearly visible. If you need both hands to navigate safely (like when approaching a tricky intersection), signal early, put both hands back on the handlebars, then signal again once you're safely through the challenging section.
Beyond Basic Signals
As you become more confident, you can add gestures like pointing to hazards (potholes, debris, parked cars) to help cyclists behind you. Some cyclists also use a "thank you" wave when drivers give them extra space or courtesy, a little politeness goes a long way in building positive relationships with motorists.
Choosing Your Path: Smart Route Planning
Not all roads are created equal when it comes to cycling safety. Smart route planning is like being a detective, you're looking for clues about which paths will give you the safest, most enjoyable ride.
Know the Rules of the Road
As a cyclist, you're considered a vehicle, which means you need to follow all the same traffic laws as cars. Stop at red lights and stop signs, yield when required, and ride in the same direction as traffic. This predictability is actually your best safety tool, when you behave like other vehicles, drivers can anticipate your actions.
Essential Equipment for Route Safety
Beyond your helmet, your bike needs proper safety equipment. A bell or horn helps you communicate with pedestrians and other cyclists. Your brakes should be responsive, test them before every ride. Reflectors on your wheels and pedals make you more visible, especially important in low-light conditions.
If you're riding at night, you need a white front light visible from 500 feet away and a red or amber rear light visible from 300 feet. Having at least one light that's visible from the side (200 feet away) is also required in many areas and just makes good sense.
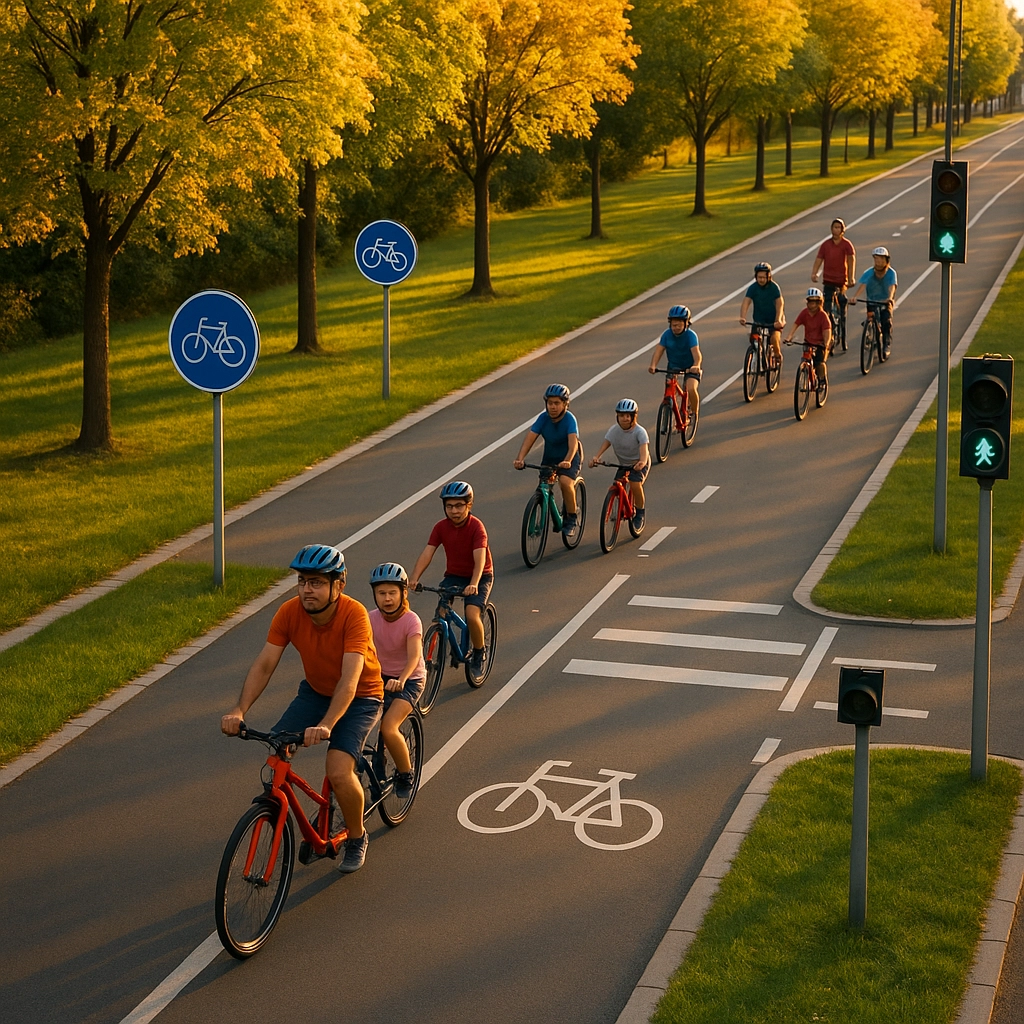
Reading the Road
Look for bike lanes, bike paths, and quieter residential streets when planning your route. Many cities have bike maps available online that highlight the safest cycling routes. Apps like Google Maps now include bike-friendly routing options that can help you avoid busy highways and find paths with dedicated bike infrastructure.
Pay attention to road surfaces too. Smooth, well-maintained pavement is obviously preferable, but also watch out for potential hazards like storm drains, construction areas, and places where the bike lane disappears suddenly.
Weather and Time Considerations
Your route choice should change based on conditions. During rush hour, that busy street might be less safe than usual. In wet weather, painted lines and metal surfaces become slippery, and visibility decreases for everyone. Plan longer routes that avoid these hazards rather than taking risky shortcuts.
Putting It All Together
Becoming a confident cyclist isn't about memorizing rules: it's about developing good habits that become second nature. Start by practicing in low-traffic areas like empty parking lots or quiet neighborhood streets. Get comfortable with your bike, practice your hand signals until they feel natural, and gradually work up to busier roads as your confidence grows.
Remember, every experienced cyclist was once a beginner. The cycling community is generally welcoming and helpful, so don't hesitate to ask questions or seek advice from more experienced riders. Many cities have beginner cycling groups or safety courses that can help you build skills in a supportive environment.
The goal isn't to become a perfect cyclist overnight: it's to become a safer, more confident rider with each trip. Master these basics, and you'll be ready to explore your world on two wheels, knowing you have the skills to handle whatever comes your way. Happy cycling!


Comments
Post a Comment